| Section |
|---|
| Column |
|---|
| Except the thermal calibration, all this steps are necessary to achieve assisted modes using the INS13 (GPS Navigation) attitude estimation algorithm, also called EKF (Extended Kalman Filter). High-quality GPS receivers can provide around 3.5 meters horizontal accuracy. Higher accuracy required for GPS Navigation is attainable by using GPS in combination with augmentation systems. For instance additional inertia sensors. Centimeter accuracy systems such as RTK are not yet supported. Additional inertia sensors such as accelerometer, gyroscope, magnetometer, barometer are absolute minimum of non-redundant information required for navigation. All sensors calibrated and properly functioning are blended by sensor fusion algorithm (i.e Extended Kalman Filter) to yield a more accurate estimate of a position. Before attempting to use GPS navigation, aircraft must fly perfect with Complementary fusion algorithm, all sensors must be calibrated, functional and giving good data. Although Extended Kalman Filter (EKF) is designed to deal with noise, it can only tolerate certain level of contradicting prediction data. Failure of any inertia sensors in most cases renders whole system not flyable. |
|
...
Great video about sensor calibration from Eric:
| Widget Connector |
|---|
| width | 800 |
|---|
| url | https://www.youtube.com/watch?v=dn9IDw2D1qw |
|---|
| height | 600 |
|---|
|
...
Thermal calibration
| Section |
|---|
| Column |
|---|
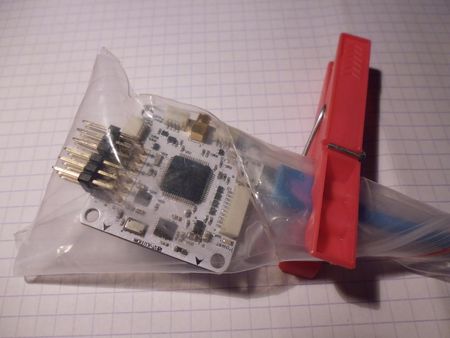
| This step is optional, but highly recommended. It reduces Accelerometer/Gyro or Barometer drift. During this step the controller monitor temperature changes while warm up and record the sensor values. At end the controller compute curves that compensate drift for every sensor within the temperature range used for calibration. No need a -40°C > +80°C range, but temperature calibration should be done at working temperature while flying in normal conditions. - Connect a USB cable to the controller and then put the board in a plastic bag, seal the bag and remove air from inside. Leave USB cable outside the bag so that it can be connected to the computer later. This will protect the board from condensation or moisture.
- Place the bagged controller/USB cable assembly into the freezer for approximately 20 minutes.
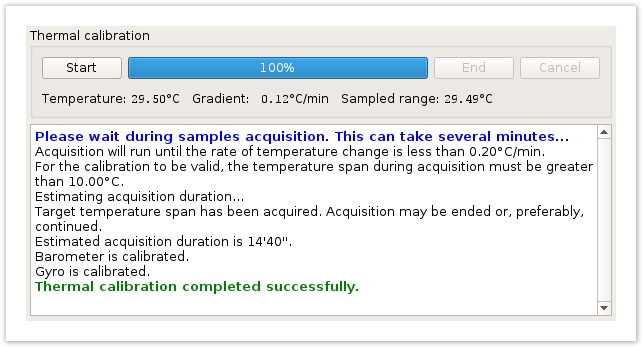
Remove the bag from the freezer, connect the USB cable to the computer, wait the connection and start the thermal calibration with the Start button. | Info |
|---|
| Avoid lamp use for warming, barometer sensor is very sensible to light ! While the controller warm up, just keep the board still, close to a heat source like a radiator. |
- Wait the calibration end, when the temperature gradient is too small, the calibration end automatically.
- Save calibration results
Thermal calibration can be saved for this board see UAV Settings Import-Export page. |
| Column |
|---|
| 
 |
|
...