...
| Section | ||||||||||||||||
|---|---|---|---|---|---|---|---|---|---|---|---|---|---|---|---|---|
|
...
| Section |
|---|
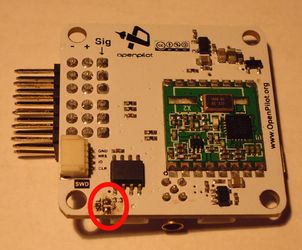
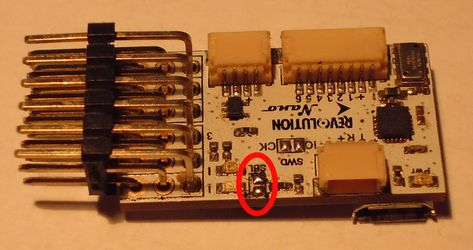
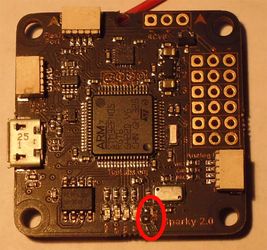
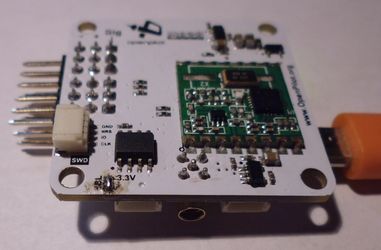
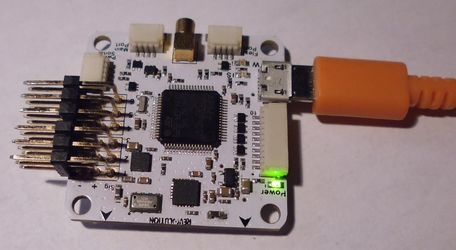
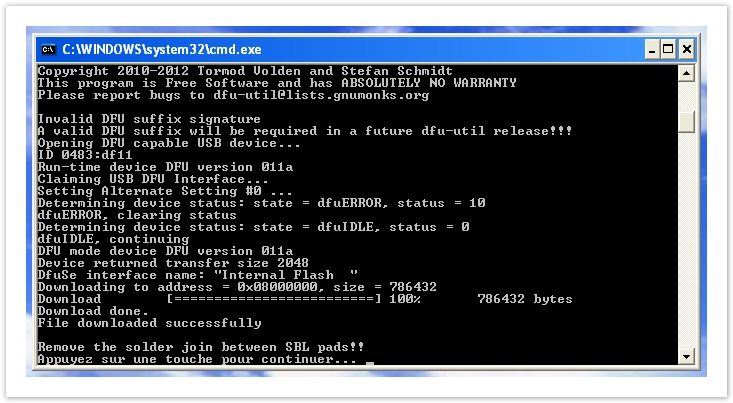
Prepare board for DFU modeYou need to short the two SBL pads in your flight controller. Pictures below show SBL pads location for Revolution, RevoNano and Sparky2 boards:
Be careful, in some cases there is others components around. Put a solder joint only between the two pads!
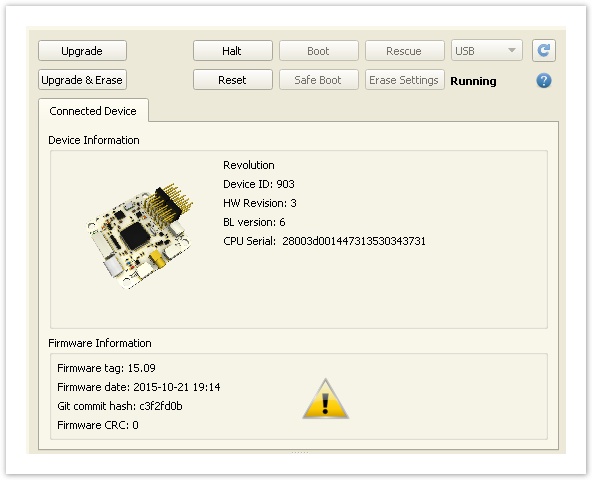
After is done the controller will show only one led on (the power led) and the other leds do not blink anymore because the internal boot loader does not control it at all.
|
...
...
| Section | ||||||||||
|---|---|---|---|---|---|---|---|---|---|---|
|

...
...
| Section | ||||||||||||||||||
|---|---|---|---|---|---|---|---|---|---|---|---|---|---|---|---|---|---|---|
|
...
...
| Section | ||||||||||||
|---|---|---|---|---|---|---|---|---|---|---|---|---|
|
...
...